Phone:
(701)814-6992
Physical address:
6296 Donnelly Plaza
Ratkeville, Bahamas.
Phone:
(701)814-6992
Physical address:
6296 Donnelly Plaza
Ratkeville, Bahamas.
40 Years still going strong
40 Years still going strong
You can achieve the perfect painting finish in York by focusing on detailed surface preparation. By properly preparing the surface before painting, you can ensure a flawless and professional result.
This article will guide you through the importance of surface preparation, different techniques for various surface types, and the tools and materials you’ll need.
Follow our step-by-step guide, avoid common mistakes, and learn tips and tricks from experienced professionals to achieve a smooth and even surface for your next painting project in York.
To achieve a flawless painting finish, you need to carefully prepare the surface before applying the paint. Surface preparation techniques play a crucial role in achieving professional results.
Before you start painting, it’s essential to clean the surface thoroughly, removing any dirt, dust, or grease. This can be done using soap and water, or in some cases, a mild detergent.
Once the surface is clean, it’s important to repair any imperfections, such as cracks or holes, using a suitable filler. Smooth out the repaired areas and sand them down until they’re flush with the rest of the surface.
Finally, ensure that the surface is properly primed before applying the paint. This creates a smooth and even base for the paint to adhere to, resulting in a flawless finish.
Understanding different surface types and their preparation techniques will further enhance your painting process.
Before you begin painting, it’s important to understand the different types of surfaces and the appropriate preparation techniques for each. The type of surface you’re working with will determine the steps you need to take to achieve a flawless finish.
For smooth surfaces, such as plaster or drywall, it’s essential to sand down any imperfections and fill in any holes or cracks before painting. This will ensure that the paint goes on smoothly and evenly.
For rough or textured surfaces, such as brick or stucco, it may be necessary to use a wire brush or power washer to remove any loose debris or dirt. Additionally, applying a primer before painting can help to create a smooth, uniform surface.
Gather the necessary tools and materials for effective surface preparation. Having the right tools and techniques is crucial to achieving a flawless painting finish.
To achieve a perfect painting finish, it’s crucial to start with proper surface preparation. This involves using the right tools, such as sandpaper, scrapers, and cleaning solutions, to remove any dirt, grease, or old paint.
Taking the time to thoroughly prep the surface ensures better adhesion and a smoother, more professional-looking paint job.
You’ll need a few essential tools for surface preparation before you can achieve the perfect painting finish in York.
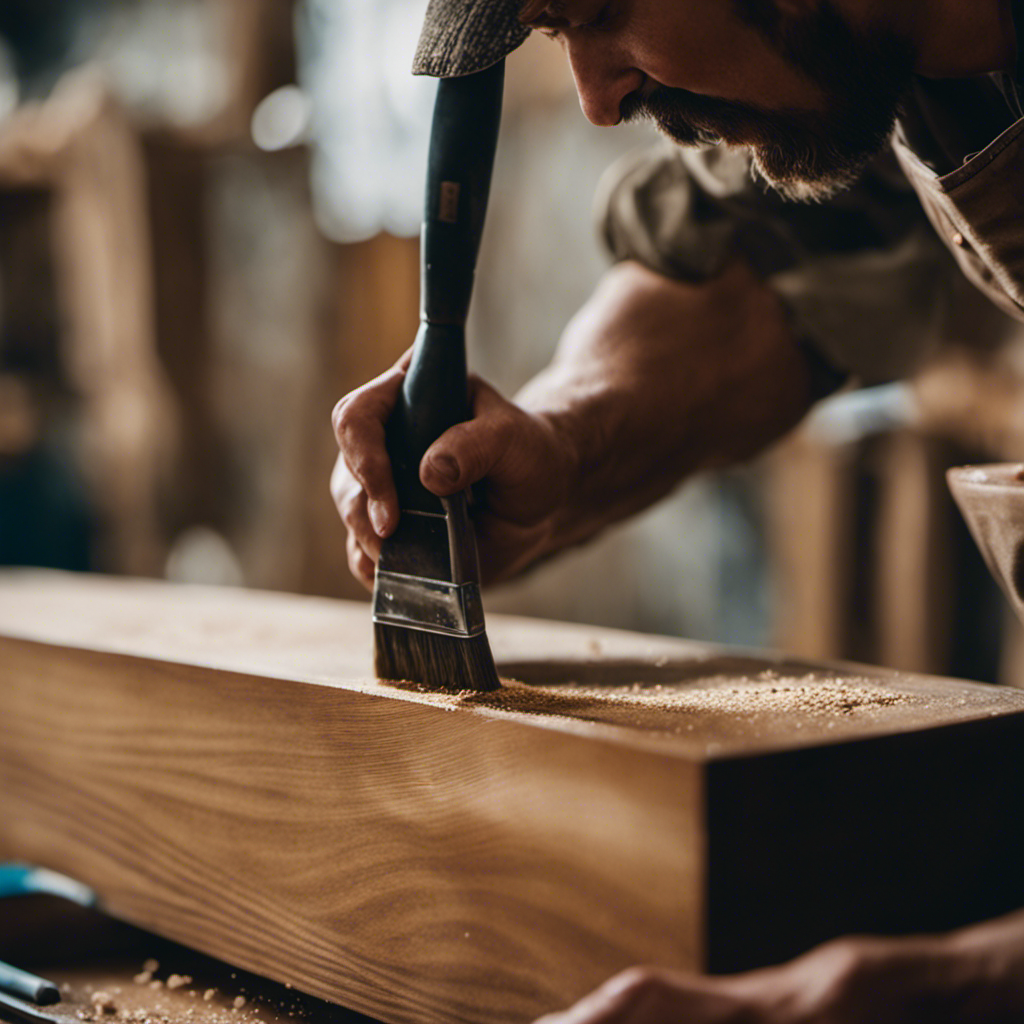
The first tool you’ll need is a scraper. This tool is used to remove any loose or flaking paint from the surface. It’s important to scrape in the direction of the wood grain to avoid damaging the surface.
Another tool you’ll need is sandpaper. Sandpaper is used to smooth out any rough patches and create a smooth surface for painting. Start with a coarse grit sandpaper and gradually work your way up to a finer grit for the best results.
Finally, you’ll need a vacuum or brush to remove any dust or debris from the surface before painting. This will ensure a clean and smooth surface for your paint to adhere to.
Before starting your painting project, it’s crucial to ensure proper surface preparation for achieving a flawless finish in York. The importance of proper prep can’t be overstated, as it sets the foundation for a successful paint job.
The first step in surface preparation is thorough cleaning. Use surface cleaning techniques such as wiping down with a mild detergent or degreaser to remove any dirt, dust, or grime.
Next, assess the surface for any imperfections, such as cracks or holes, and repair them accordingly.
Once the surface is clean and repaired, it’s time to sand it down. Choosing the right sandpaper is crucial, as it determines the level of smoothness. Coarser sandpaper is suitable for rough surfaces, while finer sandpaper is ideal for achieving a smooth finish.
Don’t overlook proper cleaning as a crucial step in surface preparation to achieve the perfect painting finish in York. Common mistakes can easily lead to imperfections and compromise the overall quality of your painting job.
To help you avoid these pitfalls, here are some key points to keep in mind:
Skipping the cleaning process: Dust, dirt, and grease can prevent paint from adhering properly to the surface. Thoroughly clean the area using a mild detergent and water solution to ensure a clean and smooth canvas for your paint.
Neglecting to repair damaged areas: Before painting, fix any cracks, holes, or uneven surfaces. Ignoring these imperfections can lead to an uneven finish and affect the durability of your paint job.
Failing to sand properly: Sanding is essential for creating a smooth and even surface. Neglecting this step can result in visible brush strokes and an unprofessional finish.
Not using the appropriate primer: Applying a primer helps paint adhere better and provides a consistent base for your topcoat. Using the wrong primer or skipping this step altogether can result in poor paint adhesion and an uneven finish.
By avoiding these common mistakes, you can achieve a flawless surface for your painting project.
Now, let’s move on to some tips and tricks for achieving a smooth and even surface.
To achieve a smooth and even surface for your painting project in York, it’s crucial to master proper sanding techniques. Begin by using coarse sandpaper to remove any roughness or imperfections, gradually working your way up to finer grits for a flawless finish.
Additionally, choosing the right primer is essential in creating a smooth base for your paint. Opt for a high-quality primer that matches the type of surface you’re working with, whether it’s wood, metal, or drywall.
Lastly, never underestimate the importance of thoroughly cleaning the surface before painting. Remove any dirt, dust, or grease to ensure optimal adhesion and a professional-looking result.
For best results, always lightly sand the surface before applying paint to achieve a smooth and even finish. Proper sanding techniques are essential to prepare the surface adequately. Here are some tips and tricks to help you achieve a flawless surface:
Start with the right sandpaper grit: Use a medium-grit sandpaper, such as 120 or 150, to remove any imperfections and create a smooth surface.
Sand in the right direction: Always sand in the direction of the grain or in a circular motion. This ensures an even finish and prevents damage to the surface.
Use consistent pressure: Apply light to moderate pressure while sanding. Too much pressure can create uneven surfaces, while too little pressure may not remove imperfections effectively.
Check your progress regularly: Stop sanding occasionally to inspect the surface. Look for any remaining imperfections or rough spots and continue sanding until the surface feels smooth to the touch.
To achieve a smooth and even surface, you should select the appropriate primer that will provide the necessary coverage and adhesion for your painting project. Understanding primer types is crucial in making the right choice. Here is a breakdown of the different types of primers and their recommended uses:
| Primer Type | Recommended Uses |
|---|---|
| Acrylic | Ideal for interior surfaces |
| Oil-based | Excellent for exterior surfaces |
| Shellac-based | Great for sealing stains and odors |
Acrylic primers are water-based, quick-drying, and easy to clean up. They adhere well to various surfaces and are perfect for interior painting projects. On the other hand, oil-based primers provide excellent adhesion and durability, making them suitable for exterior surfaces. They are resistant to moisture and can withstand harsh weather conditions. Shellac-based primers are especially effective in sealing stains and odors, making them a top choice for surfaces with previous water or smoke damage.
To achieve a smooth and even surface, you must prioritize surface cleaning and use the proper techniques. Surface cleaning is an essential part of the painting process as it ensures that the paint adheres properly and creates a flawless finish.
Here are some surface cleaning techniques that will help you achieve the best results:
Remove dirt and dust: Use a vacuum cleaner or a soft brush to remove any loose dirt and dust from the surface. This will prevent them from getting trapped under the paint and causing imperfections.
Wash the surface: Use a mild detergent and water solution to wash the surface thoroughly. This will remove any grease, grime, or stains that may interfere with the paint’s adhesion.
Sand the surface: Use sandpaper to smooth out any rough areas or imperfections on the surface. This will create an even texture and ensure that the paint goes on smoothly.
Prime the surface: Applying a primer to the clean surface will further enhance the adhesion of the paint and provide a smooth base for the topcoat.
By following these surface cleaning techniques, you’ll benefit from thorough surface preparation, resulting in a flawless and long-lasting paint finish.
Now, let’s move on to the next section and discuss preparing surfaces for different types of paints and finishes.
Make sure you thoroughly clean and sand the surfaces to achieve the perfect painting finish in York.
When preparing exterior surfaces for different types of paints and finishes, it’s important to consider the specific requirements of each material. For wood finishes, begin by cleaning the surface with a mild detergent and water to remove any dirt or grime. Next, sand the wood using a fine-grit sandpaper to create a smooth and even surface. This step helps the paint or finish adhere better and ensures a professional-looking result.
Additionally, it’s essential to fill any cracks or holes with wood filler and to prime the surface before applying the final coat of paint or finish. By following these steps, you can achieve a flawless painting finish on your exterior wood surfaces.
Now, let’s move on to discussing professional techniques for surface preparation in York.
Are you wondering how to achieve a professional painting finish in York through detailed surface preparation techniques? Look no further, as we provide you with professional surface prep services that will ensure a flawless result.
Here are four tried and tested techniques that will guarantee a smooth and long-lasting paint job:
Cleaning: Thoroughly clean the surface by removing dirt, dust, and grease. Use a mild detergent and warm water, and rinse it off completely.
Sanding: Smooth out any rough patches or imperfections by sanding the surface. Start with a coarse grit sandpaper and gradually move to a finer grit for a polished finish.
Patching: Repair any cracks, holes, or dents using a suitable filler. Allow it to dry completely before sanding it down to blend with the surrounding area.
Priming: Apply a high-quality primer to create a smooth and even base for the paint. This will enhance adhesion and improve the overall finish.
Surface preparation time before painting can vary depending on the condition of the surface. However, it is important to prioritize thorough preparation to achieve a perfect painting finish.
You may be tempted to skip surface preparation with primer, but it’s not recommended. The pros of proper surface prep include better adhesion and a smoother finish, while the cons of skipping are poor paint adhesion and a less professional result.
To achieve the perfect painting finish in York, you need to focus on detailed surface preparation. Certain types of surfaces, such as wood or metal, require the most extensive preparation before painting to ensure a smooth and long-lasting result.
To achieve a perfect painting finish, it’s crucial to have the right tools and materials for surface preparation. Proper surface preparation is important because it ensures a smooth, clean surface for the paint to adhere to, resulting in a flawless and long-lasting finish.
Before repainting, surfaces should be re-prepared as often as necessary. Proper surface preparation is crucial for achieving a perfect painting finish. Utilize surface preparation techniques to ensure a smooth and durable result.