Phone:
(701)814-6992
Physical address:
6296 Donnelly Plaza
Ratkeville, Bahamas.
Phone:
(701)814-6992
Physical address:
6296 Donnelly Plaza
Ratkeville, Bahamas.
40 Years still going strong
40 Years still going strong
Are you ready to master the art of interior painting in York? Get ready to transform your living space with these essential tips and techniques.
Learn how to choose the right paint colors, prepare your walls for painting, and achieve a smooth finish.
Discover the best tools and materials for the job, and get expert advice on cutting in and edging.
With this guide, you’ll be adding texture and depth to your walls like a pro in no time.
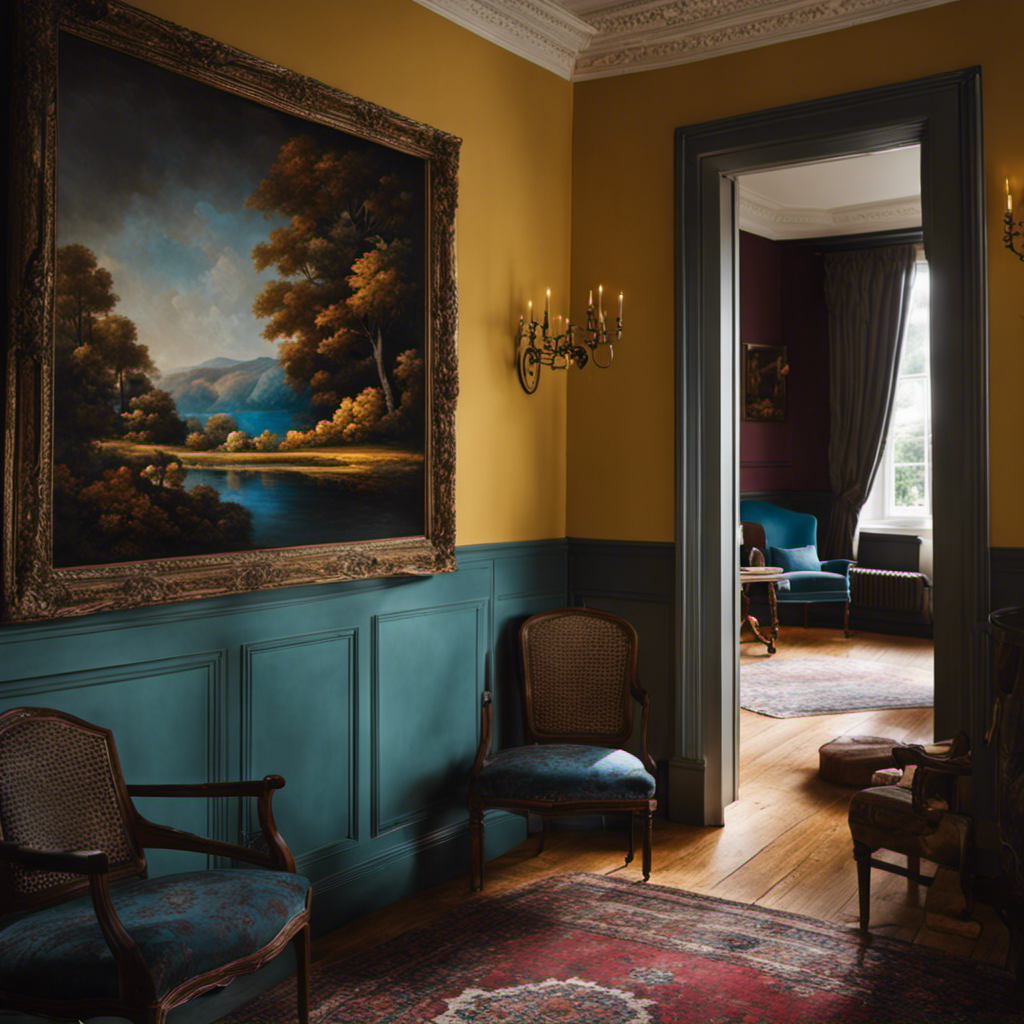
Choose the perfect paint colors for your interior space in York.
When it comes to choosing paint colors, there are a few key factors to consider.
One important aspect is the paint sheen. Different sheens, such as matte, satin, and glossy, can create different effects on your walls.
Matte finishes are ideal for hiding imperfections, while glossy finishes are more durable and easier to clean.
Another important consideration is creating a cohesive color scheme. Start by selecting a main color for the walls and then choose complementary colors for accents, furniture, and decor.
Consider the overall mood and style you want to achieve in your space. Remember, a well-planned color scheme can bring harmony and balance to your interior design.
Before you start painting, it’s essential to prepare your walls properly.
This involves cleaning the walls to remove any dirt or grease, patching any imperfections such as holes or cracks, and choosing the right primer for your specific wall surface.
To prepare your walls for painting, start by thoroughly cleaning them using a gentle detergent and warm water solution. This step is crucial in ensuring a smooth and long-lasting paint finish.
Here are three wall cleaning techniques that will help you achieve the best results:
Remove dust and debris: Use a soft brush or vacuum cleaner to remove any loose dust or dirt from the walls. This will prevent them from getting trapped under the paint and causing an uneven surface.
Wash the walls: Mix a mild detergent with warm water and use a sponge or soft cloth to gently scrub the walls. Pay extra attention to areas with stains or grease buildup. Rinse the walls with clean water to remove any residue.
Patch any holes or cracks: Fill in any holes or cracks in the walls using spackling paste or wall filler. Smooth out the surface with a putty knife and let it dry completely before painting.
To properly prepare your walls for painting, ensure that you address any imperfections by patching them with spackling paste or wall filler. Wall repair is an essential step in surface preparation before painting.
Before you begin patching, make sure to clean the area thoroughly and remove any loose debris or paint chips. Use a putty knife to apply the spackling paste or wall filler to the imperfections, such as holes, dents, or cracks. Smooth it out evenly and let it dry completely.
Once dry, sand the patched areas lightly to create a smooth surface. This will ensure that your walls are ready for a flawless paint application.
Taking the time to properly patch and repair your walls will result in a professional, finished look for your interior painting project.
To ensure the best results when preparing your walls for painting, it’s important that you choose the right primer. The primer acts as a base coat, providing a smooth and even surface for the paint to adhere to.
Here are three key factors to consider when selecting a primer:
Primer Types: There are different types of primers available, such as oil-based, water-based, and shellac-based. Each type has its own advantages and is suitable for specific surfaces. For example, water-based primers are great for most surfaces, while shellac-based primers are ideal for blocking stains and odors.
Surface Preparation: Before applying the primer, it’s crucial to properly clean and prepare the surface. This includes removing any dirt, grease, or loose paint. Additionally, you may need to sand the surface to create a smooth texture.
Priming Techniques: Depending on the condition of your walls, you may need to apply multiple coats of primer. It’s essential to follow the manufacturer’s instructions for application and drying times. Additionally, using a high-quality brush or roller can ensure an even and smooth finish.
You’ll need a variety of essential tools and materials for interior painting. To start, you’ll need a good quality paintbrush and roller, as these are the primary tools for applying paint to your walls.
It’s also important to have drop cloths or plastic sheeting to protect your floors and furniture from any accidental spills or drips. Additionally, you’ll need painter’s tape to create clean lines and prevent paint from bleeding onto adjacent surfaces.
A putty knife and sandpaper will come in handy for prepping your walls and repairing any imperfections. Finally, don’t forget a paint tray and stir sticks for mixing your paint thoroughly.
To achieve a smooth finish when painting your interior walls, there are a few key techniques to keep in mind.
First, proper prep work is essential, including cleaning the walls and repairing any imperfections.
Next, consider the tools you’ll use – while brushes are great for precision work, rollers are ideal for covering large areas quickly.
Achieve a smooth finish for your interior painting project in York by properly preparing the surfaces. To ensure a flawless result, follow these essential steps:
Clean the walls thoroughly: Remove any dirt, dust, or grease from the surfaces using a mild detergent and water. This will help the paint adhere better and prevent any imperfections from showing through.
Repair any damages: Inspect the walls for cracks, holes, or uneven surfaces. Fill in these imperfections with spackling compound and sand them down until smooth. This will create a seamless base for the paint application.
Prime the walls: Apply a coat of primer to seal the surface and provide an even base for the paint. Priming will enhance the paint’s durability and improve its adhesion, resulting in a professional-looking finish.
To achieve a smooth finish for your interior painting project in York, it’s important to consider the techniques of using a brush versus a roller. Both tools have their pros and cons, and the choice depends on the surface you are painting.
Using a brush allows for more control and precision, especially when painting smaller areas or intricate details. It also helps to create a textured finish, which can be desirable in certain situations. However, using a brush can be time-consuming and may leave visible brush strokes.
On the other hand, a roller covers larger areas quickly and efficiently, resulting in a smoother finish. It is ideal for walls and ceilings, especially when a seamless look is desired. However, it may not be as effective for corners or edges.
Consider the following table for a quick comparison of the pros and cons of using a brush versus a roller:
| Brush | Roller |
|---|---|
| More control and precision | Covers larger areas quickly |
| Creates a textured finish | Smoother finish |
| Time-consuming | Not suitable for corners or edges |
Selecting the appropriate paint and employing effective techniques is crucial for achieving a smooth finish when painting the interiors of your York home. To help you achieve the best results, here are some key considerations:
Choose the right type of paint: Opt for a high-quality interior paint that’s specifically designed for the surface you’re painting, such as walls, ceilings, or trim. This will ensure better adhesion and durability.
Use proper painting techniques: Whether you’re using a brush or roller, it’s important to apply the paint evenly and smoothly. Start with a good primer to create a smooth base, then apply the paint in even strokes, working from top to bottom.
Consider color psychology: Keep in mind that different colors can evoke different emotions and moods. Consider the purpose of the room you’re painting and choose colors that align with the desired atmosphere.
When cutting in and edging while painting, make sure to take your time and use painter’s tape for clean, precise lines. Cutting in techniques are essential for achieving a professional-looking paint job, especially when working on edges and corners. To make it easier for you, here are some tips to ensure your cutting in and edging process goes smoothly:
Use a high-quality angled brush: A good brush with tapered bristles will allow for more control and precision when cutting in.
Load your brush properly: Dip the brush about a third of the way into the paint and then tap off any excess. This will prevent drips and ensure a smooth application.
Hold the brush correctly: Hold the brush near the base of the handle for better control and stability.
Use painter’s tape: Apply painter’s tape along the edges and corners to create clean, sharp lines. Make sure to press it down firmly to prevent any bleed-through.
Take your time: Cutting in requires patience and attention to detail. Don’t rush the process and take breaks if needed to maintain focus.
Following these tips will help you achieve clean and precise edges, giving your painted surfaces a professional finish.
How can you efficiently apply paint with a roller for a smooth and even finish? Here are some tips to help you achieve professional results:
Choose the right roller: Use a high-quality roller cover with the appropriate nap length for your surface. A shorter nap is ideal for smooth surfaces, while a longer nap works well on textured surfaces.
Prep the roller: Before you start, remove any loose fibers from the roller cover by wrapping masking tape around your hand and gently rolling it over the cover.
Master the technique: Start by loading the roller evenly with paint, then apply it in a ‘W’ or ‘M’ pattern for even coverage. Avoid pressing too hard or going over the same area repeatedly, as this can create streaks or roller marks.
Looking to add texture and depth to your walls? One way to achieve this is by creating faux finishes. Faux finishes are decorative painting techniques that mimic the appearance of materials such as wood, marble, or stone. By using different tools and paint application methods, you can create a variety of textures and patterns on your walls.
Another option is to use stencils for wall design. Stencils are pre-cut templates that allow you to easily paint intricate patterns or designs on your walls. They can be used to create a focal point or add visual interest to a room.
Whether you choose to create faux finishes or use stencils, adding texture and depth to your walls can transform the look and feel of your space.
To complete your interior painting project in York, it’s important to focus on the finishing touches and clean-up. This final step will ensure that your project looks polished and professional. Here are three key tasks to consider:
Gather the necessary cleaning supplies: Before you begin cleaning, make sure you have all the necessary supplies on hand. This may include a broom, dustpan, vacuum cleaner, microfiber cloths, and cleaning solutions.
Protect your furniture: Take the time to cover and protect your furniture before you start cleaning. Use plastic sheets or drop cloths to prevent any paint or cleaning solution from damaging your belongings.
Thoroughly clean the area: Start by removing any dust or debris from the walls, floors, and furniture. Then, use the appropriate cleaning solutions to wipe down surfaces and remove any paint splatters or stains.
When choosing paint colors for your interior, common mistakes include not considering lighting, ignoring the existing decor, and forgetting to test the colors before committing. Also, remember to choose the right paint finish for different rooms.
After properly preparing your walls for painting, you should wait for them to dry completely before starting. This usually takes around 24 hours, but it can vary depending on factors like humidity and the type of paint used.
You can achieve a smooth finish without special tools or materials, but it may be more challenging. Pros of using different paint finishes include durability and ease of cleaning, while cons include cost and limited color options.
To achieve sharp lines and clean edges when cutting in, make sure to use a high-quality angled brush and apply steady, even pressure. Take your time and practice the proper cutting in techniques for best results.
There are alternative painting techniques besides using a roller. One option is using a paint sprayer. It can provide a faster and more even coverage, but it requires more skill and can be messy.
In conclusion, mastering the art of interior painting in York requires several key steps.
Firstly, choosing the right paint colors is essential. This involves considering the overall aesthetic you want to achieve and selecting colors that complement your existing decor.
Secondly, preparing your walls properly is crucial for a successful paint job. This includes cleaning the walls, filling in any holes or cracks, and sanding down rough surfaces.
Next, using the right tools and techniques is important for achieving a smooth finish. Cutting in and edging, which involves carefully painting along the edges and corners of the walls, helps create clean lines. Applying paint with a roller is another important step, ensuring even coverage and minimizing streaks.
Adding texture and depth to your walls can also enhance the overall look of the room. This can be achieved through techniques such as sponging, ragging, or stenciling.
Lastly, don’t forget the finishing touches and clean-up. Take the time to carefully inspect your work and make any necessary touch-ups. And once you’re done, clean up any paint spills or drips and put away your tools properly.
By following these steps and paying attention to detail, you can achieve a professional-looking result and leave your space looking fresh and beautiful. Happy painting!