Phone:
(701)814-6992
Physical address:
6296 Donnelly Plaza
Ratkeville, Bahamas.
Phone:
(701)814-6992
Physical address:
6296 Donnelly Plaza
Ratkeville, Bahamas.
40 Years still going strong
40 Years still going strong
Proudly Serving as THE Painter and Decorator York and the surrounding areas for 40 years.
We dont say how fast we can do a job we do the job until its perfect!
Using our experience to create perfection
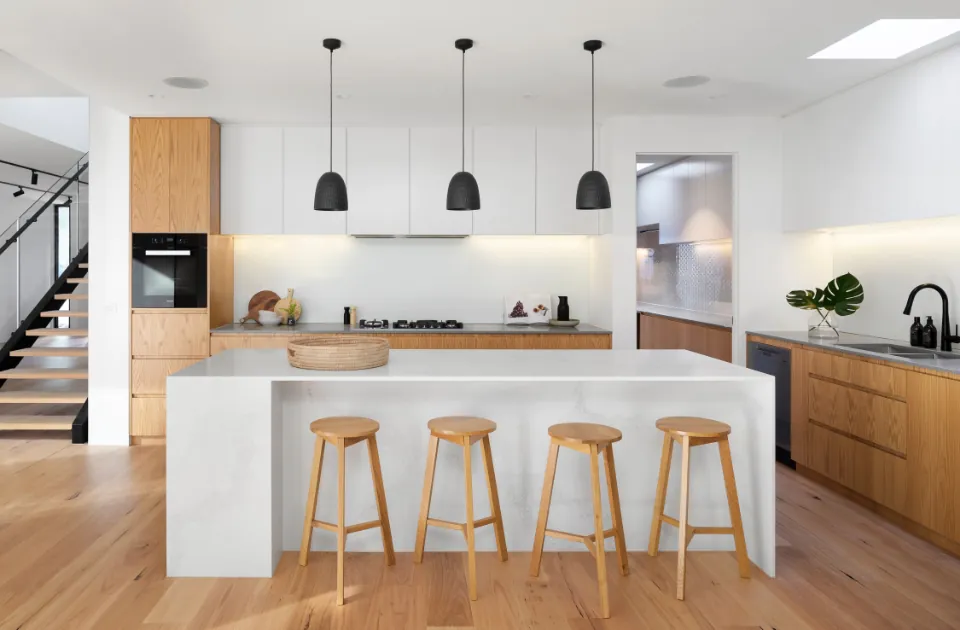
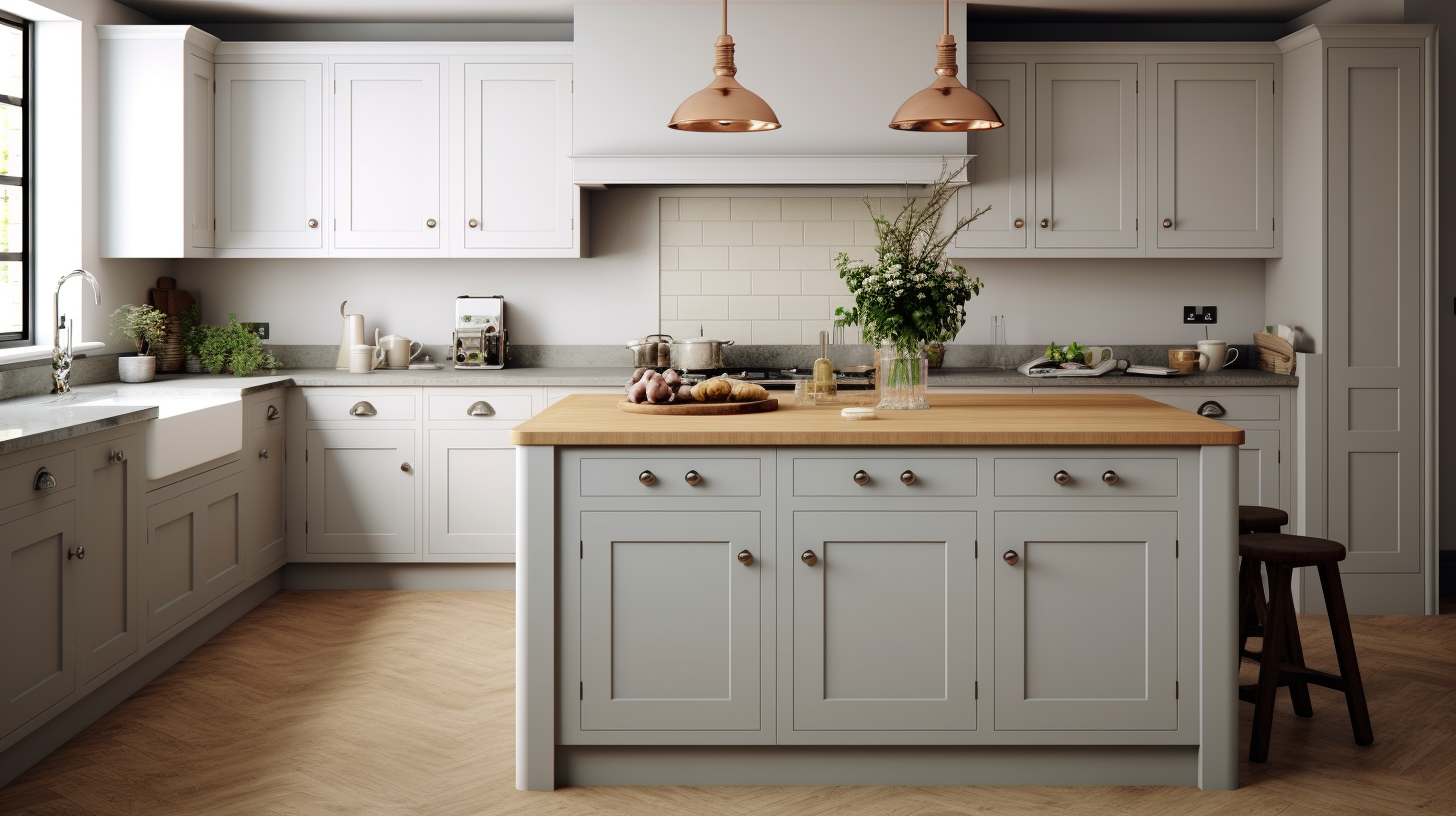
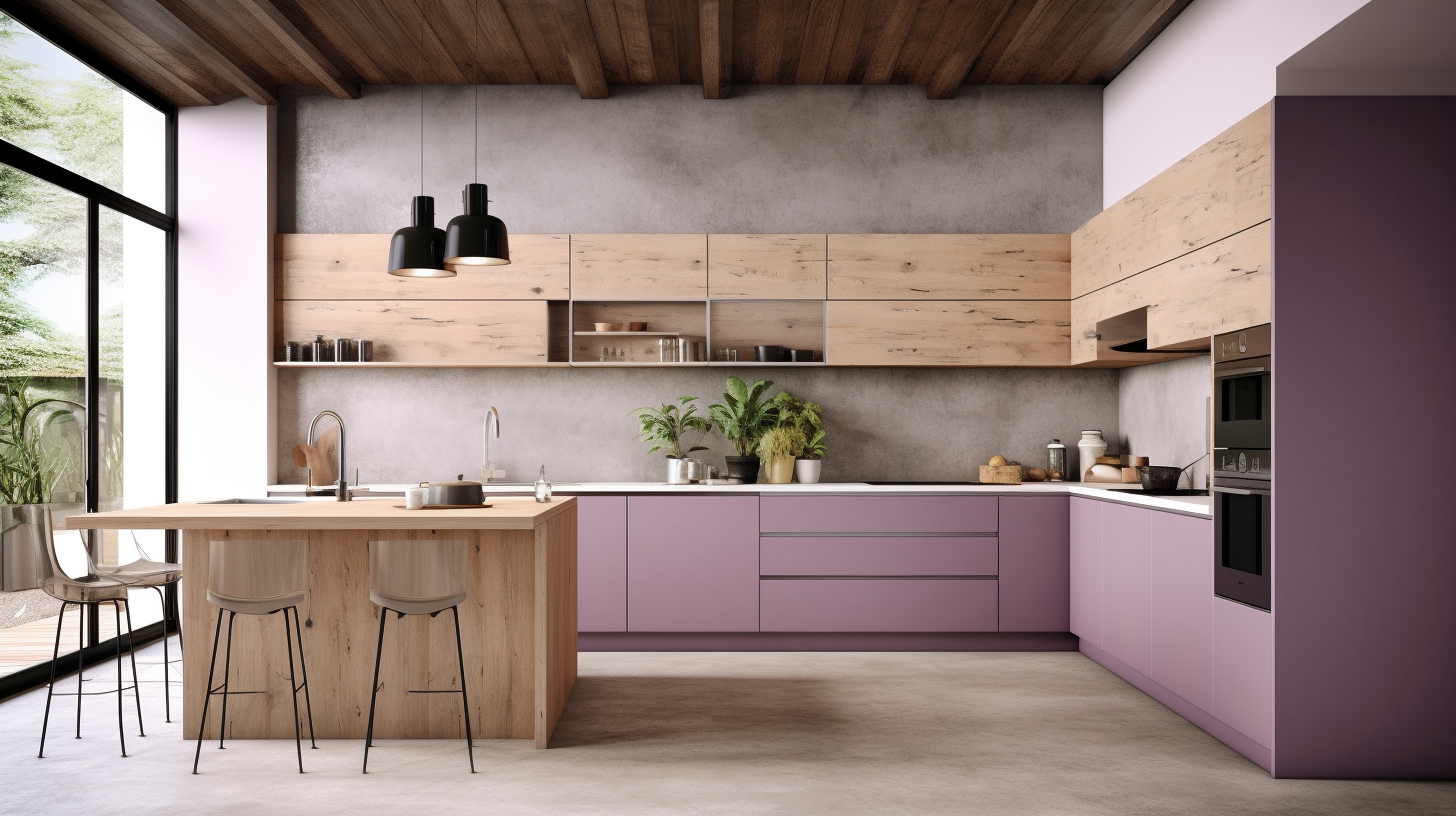
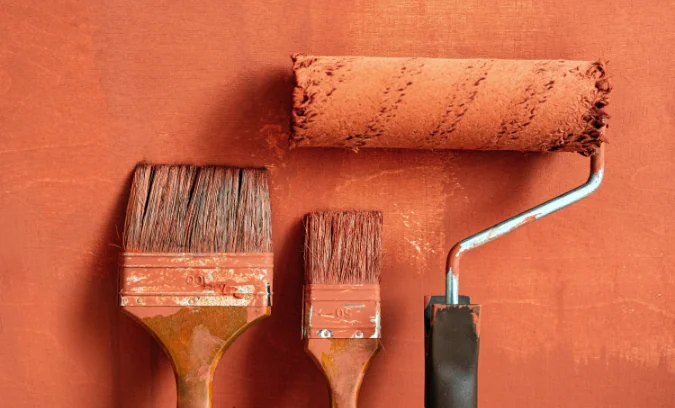
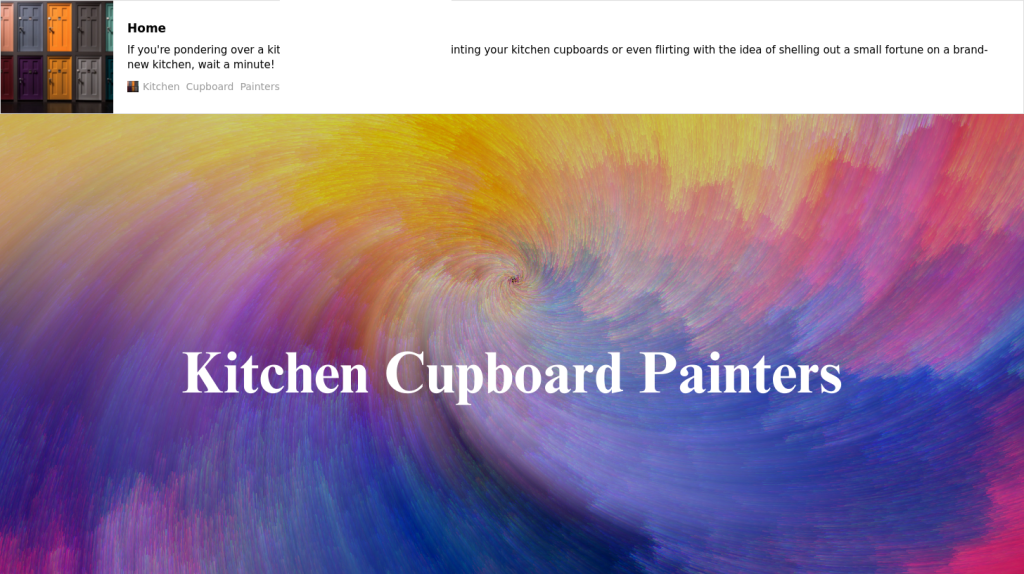
We specialise in the hand repainting of Kitchen units and cupboards see our Kitchen cupboard repainting website
Achieving the perfect finish every time with our painting techniques
We are able to us ethe many different special finishes that many decorators wont have even heard of
Painter and Decorator york-AAA Decorators York
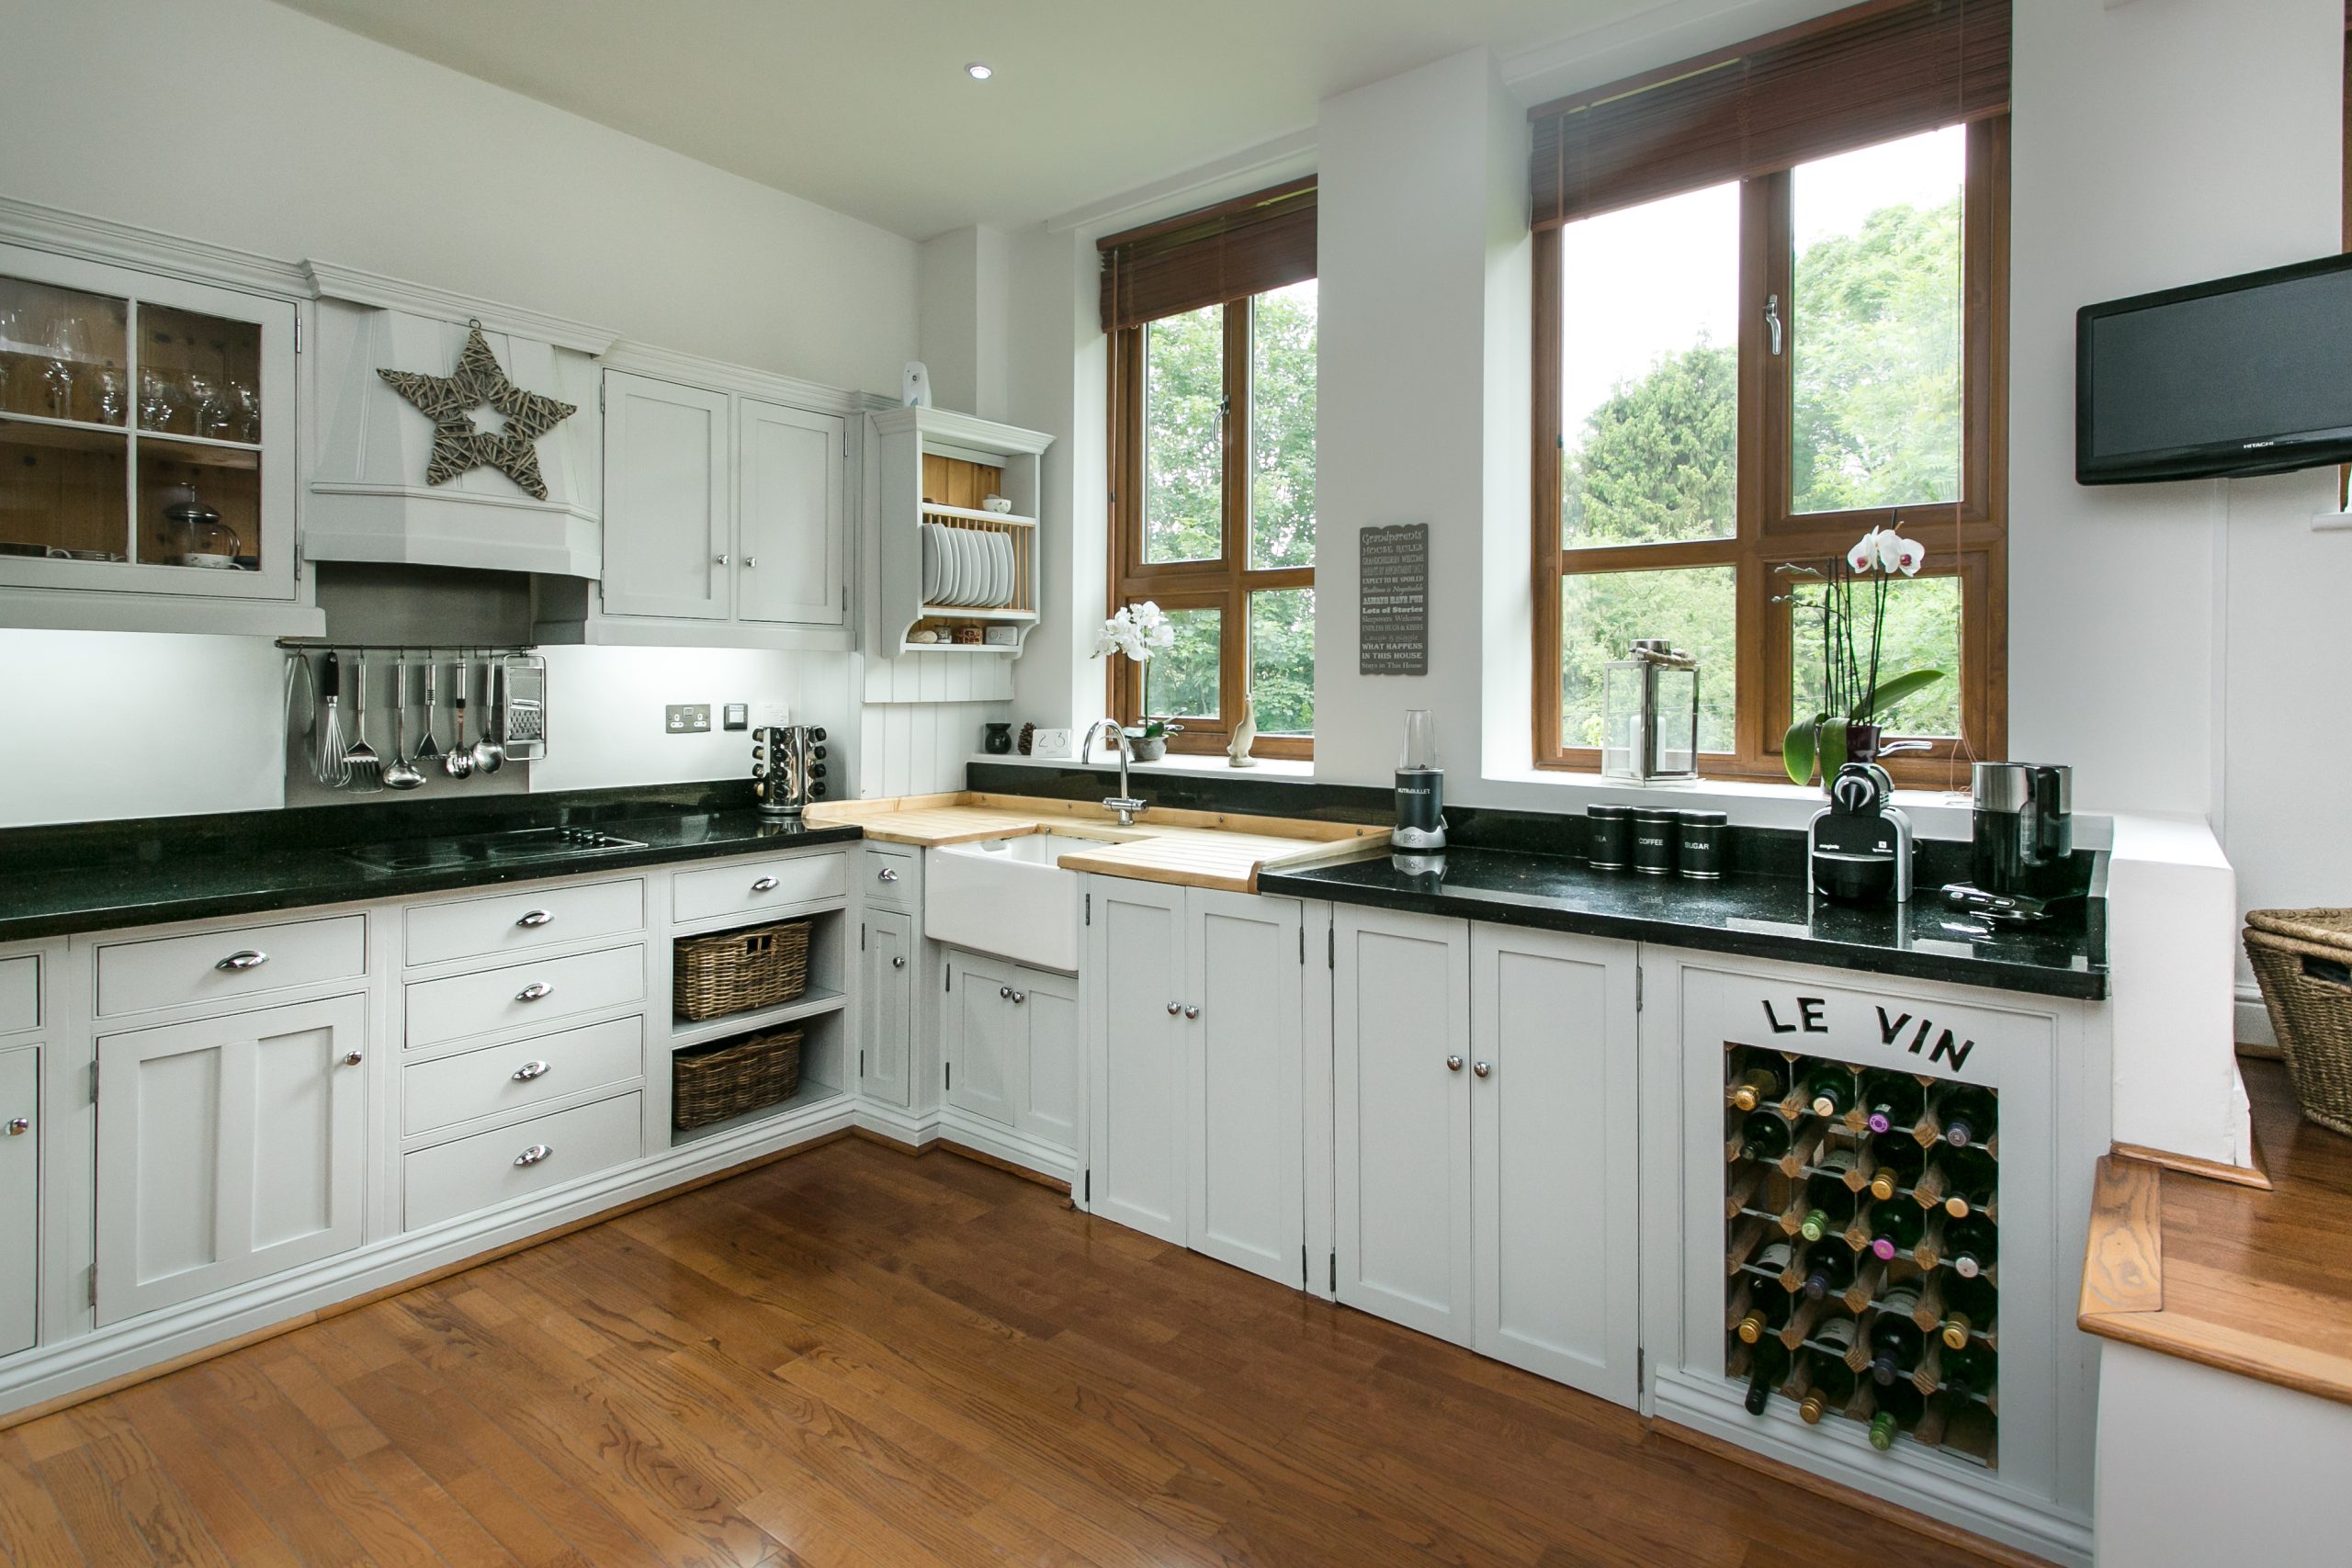

“Our Kitchen was tired we thought it needed replacing. We are so glad to entrust David to do his magic. We were staggered at the stunning result achieved on our kitchen units. The best decorator by a mile”
Happy client
Exceeding Expectations
We know al the tricks of the trade to achieve the best results. Time served apprenticeships. NOT A 1 WEEK PAINTING COURSE
We are old fashioned in our approach, we appreciate the responsibility given to us by homeowners to deliver
An over used word but we are serious about how we work and we leave our customers to appreciate the quality we give them.
Time shave changed in paint production-gone are the days of Toxic vapours in your home we only use Zero or Low VOC products for all our safety
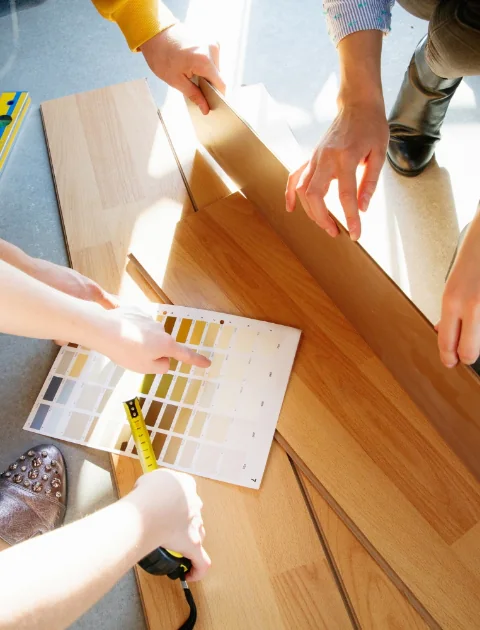
We are also great at guiding you on colour schemes if you need any help
Years of Experience
Repeat Business
Happy Customers
Projects Completed
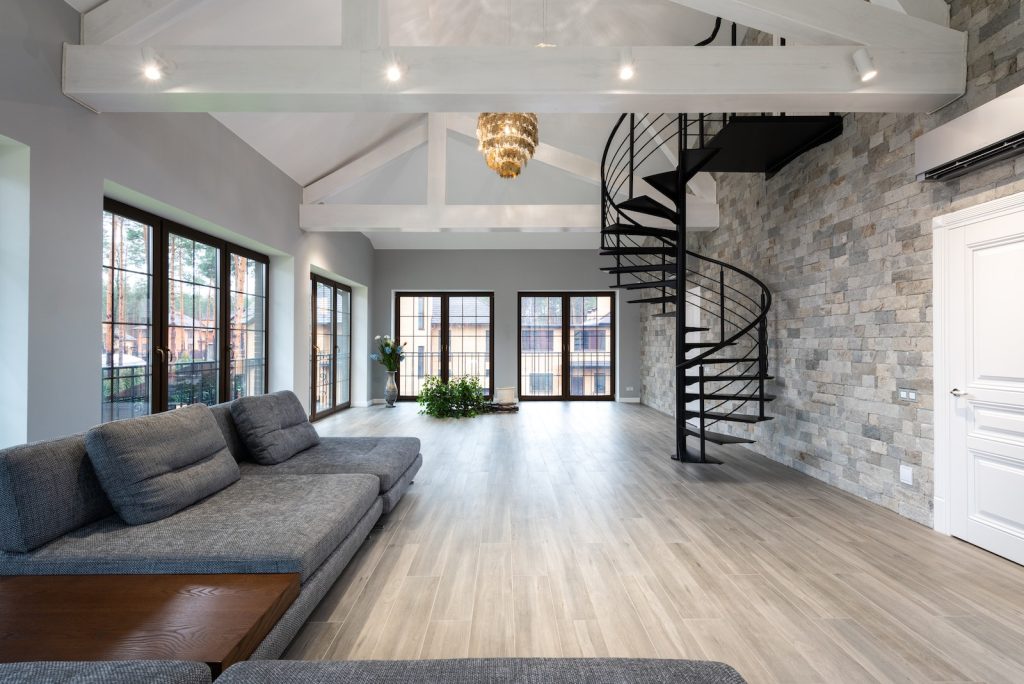
Are you looking to make your home look stunning with a paint job like no other ?
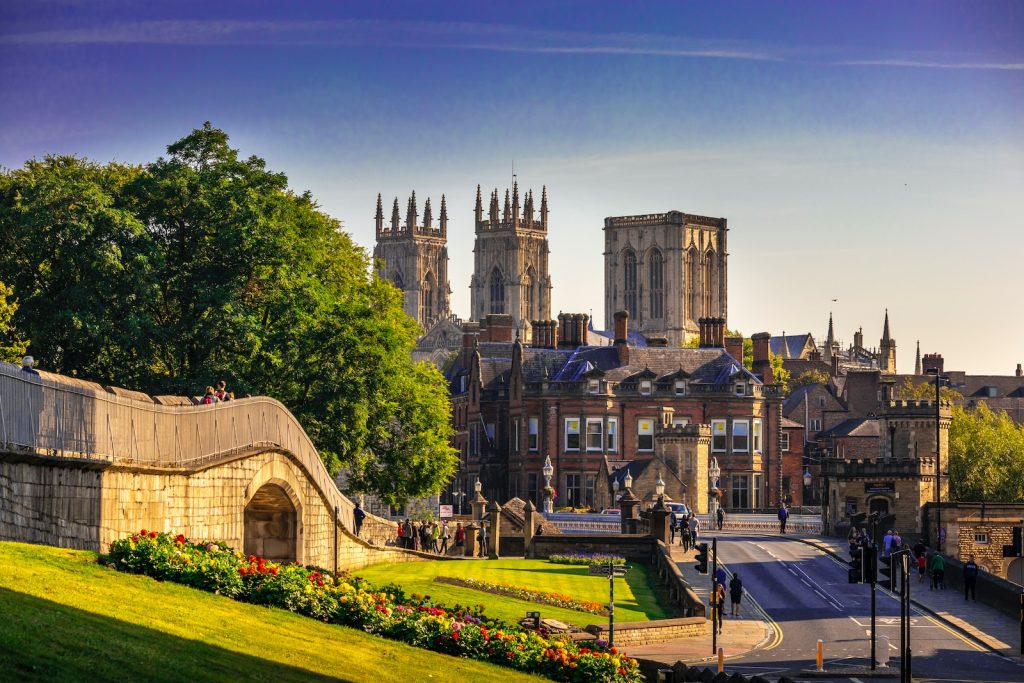
In the picturesque city of York, woven into its rich tapestry of history and tradition, exists a legacy of excellence in painting and decorating that has spanned generations. As perhaps the longest-serving painters and decorators in the York area, our story is intertwined with the beautiful structures that adorn the city. Our services, recognized for their meticulous attention to detail and superior quality, are not simply transactions but a pledge of preserving and enhancing the inherent beauty of your spaces.
Our philosophy is simple and unswerving: quality over quantity, and skill over speed. Unlike some practitioners who may proclaim expertise after a fleeting 1-week course in painting, our team comprises fully qualified decorators, whose proficiency is the result of years of dedicated learning, practice, and refinement. When you entrust your project to us, you are not merely getting a ‘painter and decorator in York’; you are securing a piece of York’s rich history of craftsmanship.
Why Choose a Veteran York Painter and Decorator?
Navigating through the myriad of ‘painters and decorators in York’ can indeed be a daunting affair. Many fall into the trap of selecting services through paid platforms like Checkatrade in York and other listing companies, believing that those who advertise the most, and perhaps charge the highest, deliver the superior service. This, however, is a misapprehension that we ardently wish to dispel.
When a service provider pays to be highlighted in directories or on advertising platforms, it doesn’t necessarily equate to higher quality or better service. Those who pay more for advertising do get more visibility, but remember that these costs are often passed down to you, the customer. Additionally, the emphasis of such platforms is on revenue generation rather than assuring the provision of quality services.
In contrast, our rich lineage as painters and decorators has been built not upon hefty advertising budgets, but upon countless successful projects, word-of-mouth recommendations, and a heritage of skills passed down through generations. When you choose us, you are not only investing in a service, but also in a time-honoured tradition of excellence in the art and science of painting and decorating.
Embarking on a Journey with York’s Finest
In your quest to find the impeccable ‘York painter and decorator’, we invite you to look beyond the sponsored listings and dive into a realm where every stroke tells a story of dedication, expertise, and unbridled passion for the craft.
Our exhaustive suite of painting and decorating services, rendered by highly trained and qualified artisans, ensures that every project, regardless of its size or complexity, is executed to the highest standards. This means not only meeting but consistently exceeding, the expectations of our esteemed clients.
Our past is richly painted with a multitude of projects, each unique, yet bound by the common thread of quality, reliability, and artistic flair. So when you are searching for a ‘painter and decorator in York’ or any ‘painters and decorators in York’, remember that our legacy is not just in providing a service but in crafting experiences, beautifying spaces, and preserving the timeless allure of your structures.
Choose wisdom, choose experience, choose a craftsman who doesn’t just paint and decorate but weaves into each project a rich tapestry of York’s glorious history.
Nestled amidst the scenic enchantment of the United Kingdom, our adept team of ‘painters and decorators in York’ has been weaving a legacy of decorative excellence that transcends not only our craftsmanship but also geographical boundaries. Embarking on a journey across varied landscapes and diverse architectural backdrops, our dedication to beautifying spaces takes us to numerous locales, each with its distinct character, charm, and decorating demands.
York: The Heart of Our Story
In the historic and architecturally rich city of York, our tale begins but by no means does it find its limit. As a seasoned ‘York painter and decorator’, we are indelibly linked with this city, having breathed life into numerous structures through our superior painting and decorating services. The projects in York City Centre, with its bustling streets and vibrant community, have always held a special place in our portfolio, allowing us to weave our artistic threads through the heart of the city.
Venturing Through Picturesque Locales
Navigating through the lush expanses of North Yorkshire, our skilled ‘painter and decorator in York’ team ventures into the quaint and charming town of Malton. Here, our decorators immerse themselves in projects that echo the town’s rich heritage and vibrant contemporary life, ensuring each stroke not only adds aesthetic appeal but also preserves and honours its history.
In Helmsley, our commitment as adept ‘decorators’ has seen us meld our expertise with the locale’s enchanting rural character, offering services that complement and enhance its rustic beauty. Meanwhile, our forays into Pickering allow us to interact with a variety of architectural styles, each project a new canvas upon which our skilled ‘York painter’ team meticulously crafts its art.
Journeying Through Suburban and Countryside Gems
In the serene suburbs of Copmanthorpe and Bishopthorpe, our endeavours have us delicately balancing modern decorating demands with a subtle nod to their rich histories. Our journey doesn’t pause here but courses through Tadcaster Road, where every home and business beckons us to bestow upon them a fresh breath of aesthetic life.
Poppleton, Rufforth, Heworth, and Haxby, on the other hand, invite us into their warm community settings, where our decorative tales are woven into their domestic and commercial tapestries, seamlessly blending contemporary designs with timeless classics.
Venturing further into Wigginton, Strensall, Sheriff Hutton, and Terrington, our painting and decorating journeys meld into their picturesque landscapes, ensuring each service provided not only amplifies their inherent charm but also resonates with the local architectural and cultural ethos.
Binding It All Together: Uniting Regions with Our Craft
Whether it’s a cottage nestled in a secluded spot in between Malton and Helmsley or a bustling office space along Tadcaster Road, our allegiance to quality and superior craftsmanship remains unyielding. Every locale we serve, from vibrant city centres to tranquil hamlets, benefits from the unwavering dedication and seasoned skill of our proficient decorators.
So, when your spaces call for a ‘York painter and decorator’ that not only promises but delivers unparalleled service, remember that our routes meander through the hearts of towns, suburbs, and countryside alike, ensuring every project, regardless of its geographical tag, is embraced and transformed with equal fervour and expertise.
In every stroke and every hue, we deliver not just a service, but a legacy of decorating excellence that has traversed through York and its neighbouring treasures.
.